What is Zapier? #
Zapier is an integration platform which connects to multiple vendors’ APIs (application programming interfaces) allowing users to create connections between different systems with a user-friendly interface and no programming experience. This integration allows users to create links between PCRecruiter and the thousands of applications in the Zapier catalog with just a few clicks.
Here are the key terms to understand:
- Zap – one or more Actions prompted by the occurrence of a Trigger
- Trigger – something that takes place in a selected app which causes the Zap to run
- Action – the events that take place in a target app
What can PCRecruiter do with Zapier? #
PCRecruiter can be used both as a Trigger and an Action target in your Zaps.
The following events in PCR can trigger a Zap:
- New Placement – triggers when a new contract or permanent placement record is created in your PCR database
- Pipeline Stage Reached – triggers when a candidate reaches a particular Pipeline step
(Note: This action is not compatible with the legacy Pipeline) - New Position / Name In Rollup List – triggers when a new position or name is added to the Rollup list specified
The following events can be made to occur in PCR when triggered by another app:
- Create Name / Position Activity – adds a new activity log entry for the targeted record
- Create Name / Company / Position Record – adds a new record to PCR using the data from the Trigger app
- Update Name Record – updates the fields on the targeted Name record using the data from the Trigger app
Setup #
Create an Account #
Begin by signing up for an account at https://zapier.com. A basic account is free, but is limited in terms of number of Zaps, frequency of triggers, app selection, and so on.
Create a Zap #
For this example, we’ll show how to Create a Name in PCRecruiter when a new row is added to a Google Sheet. This sort of Zap might be useful if you’re working with a sourcer or researcher who will be entering contacts into a Google Sheet rather than getting their own PCRecruiter login. The steps to create a Zap using other apps will be very similar to those listed below, but will vary in terms of the fields or settings required by the specific app you’re working with.
- Start by clicking the “Create Zap” button.

- In the upper left corner, give your Zap a name so that you can tell it apart from others.

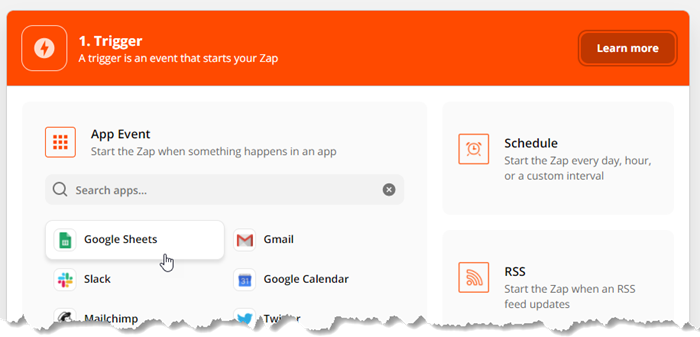
- Choose your Trigger. For this example we’ll be selecting Google Sheets.
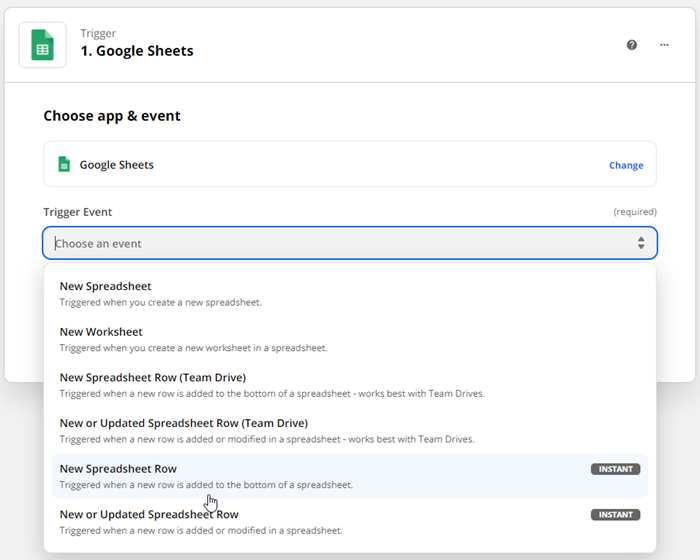
- Select “New Spreadsheet Row” as the event.
- Click the Continue button.
- If you have not used Google Sheets with Zapier before, you’ll need to Sign in to Google Sheets
- Proceed through the login steps and Allow access as requested.
- Click the Continue button.
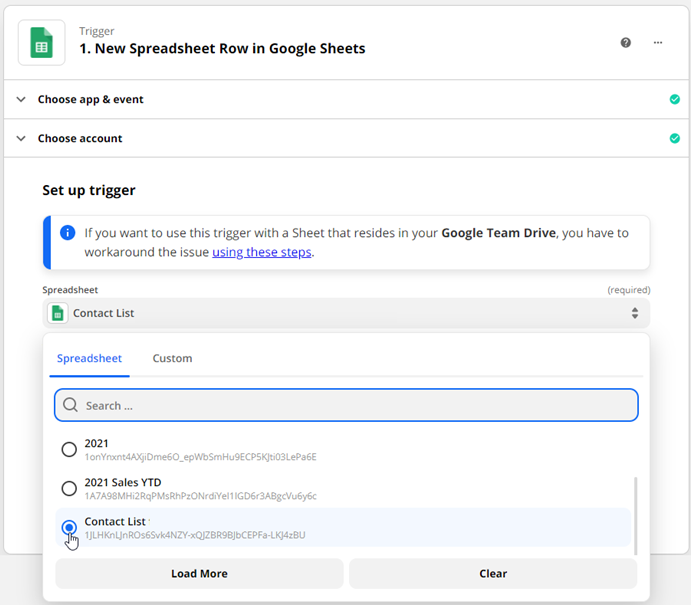
- Choose the Spreadsheet you wish to create your Trigger from.
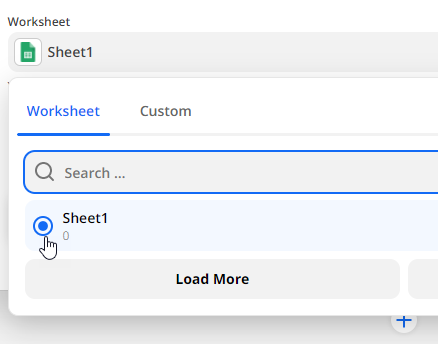
- Choose the specific Worksheet within the Spreadsheet that you wish to create your Trigger from.
- Click the Continue button.
- Click the Test Trigger button. Zapier will attempt to find a recent item from your trigger app to use in the Zap.
- If the test is successful and the data looks correct, click the Continue button.
- Click the + to proceed, and select PCRecruiter as your Action app.
For this example, we’ll be selecting ‘Create Name Record’ as the Action Event to perform when the Zap runs.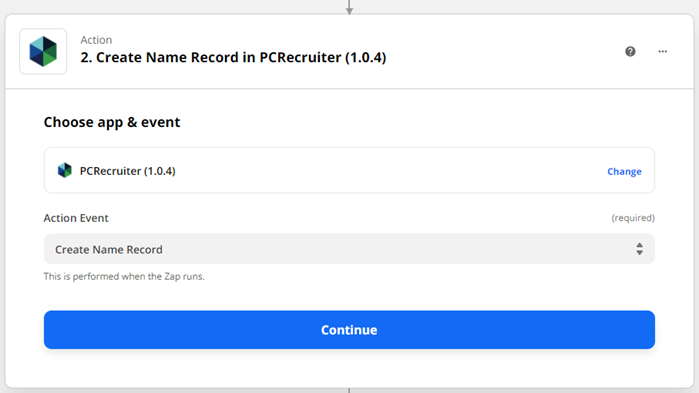
- Click the Continue button.
- If you have not used PCRecruiter with Zapier before, you’ll need to Sign in to PCRecruiter. You’ll enter your UID, which is the name of your PCR database followed by a period and then the name of your PCR account. If you’re not sure, you can go to SYSTEM in PCRecruiter and search for ‘Api Settings’ – it will be at the top of that panel.
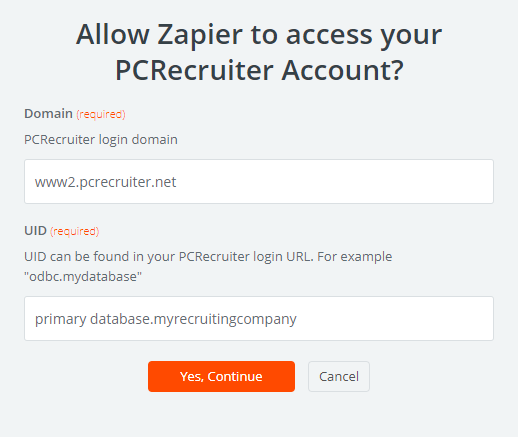
This will be followed by a PCRecruiter login panel. Enter your username and password to give Zapier authorization for your database with your account. Note that you may need to re-connect this database to Zapier if your PCRecruiter password is changed in the future.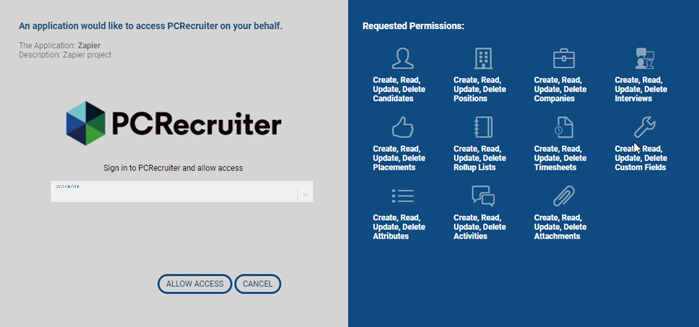
- Once you’ve connected to the database, you’ll proceed through the list of fields in the Set Up Action panel, matching up the target fields in the PCR Name record with the appropriate values from the test record pulled from the Google Sheet.
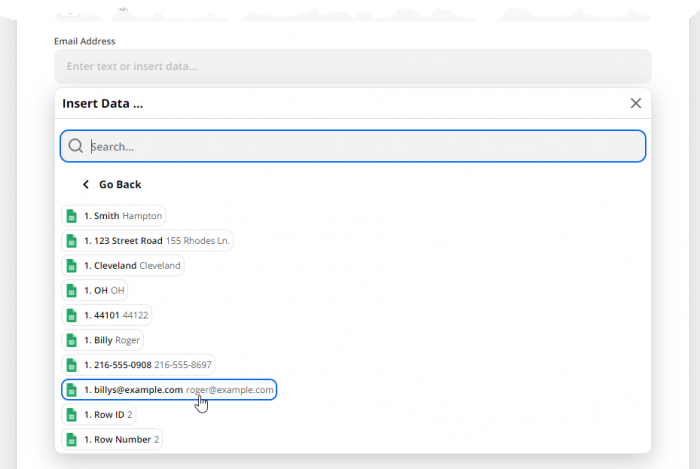
- Click the Continue button.
- Click the Test & Review button. This will take the test record and push it through the Zap to your database.
- Once the test is successful, you can select Turn On Zap.
