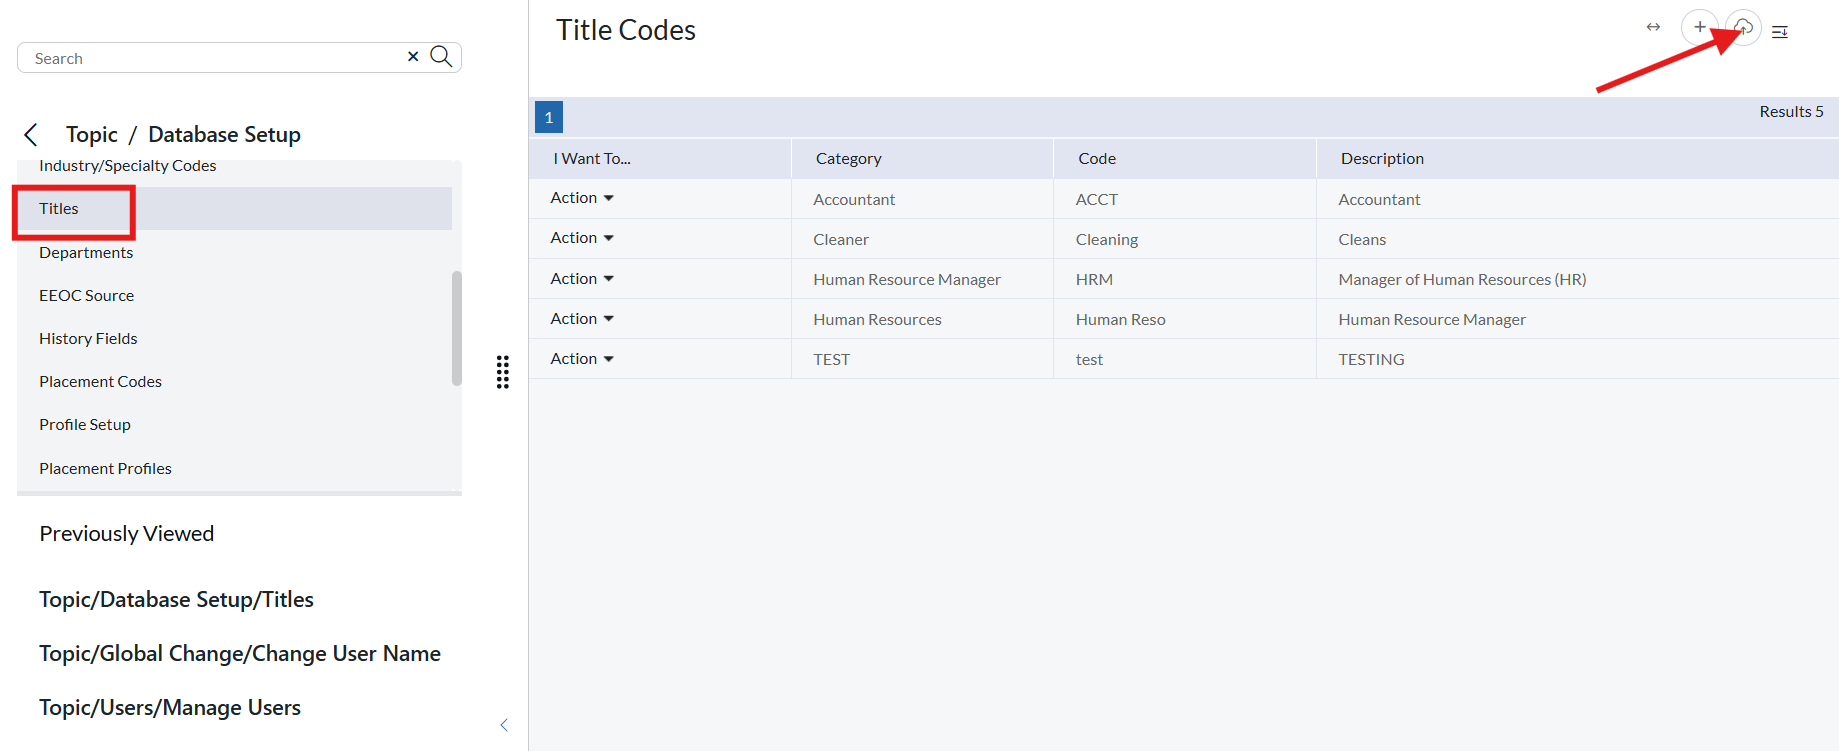
The Titles table in PCRecruiter can be used to create a standardized set of Titles to be applied to Name Records and/or Position Records. While the Job Title field on the Positions and the Title field on Names are typically filled in with manually entered values, some users find it helpful to create a predefined list to pick from for more consistent data. It is also possible to present this dropdown of Titles when asking candidates to self-enter via the Job Board.
Add Titles to a Record #
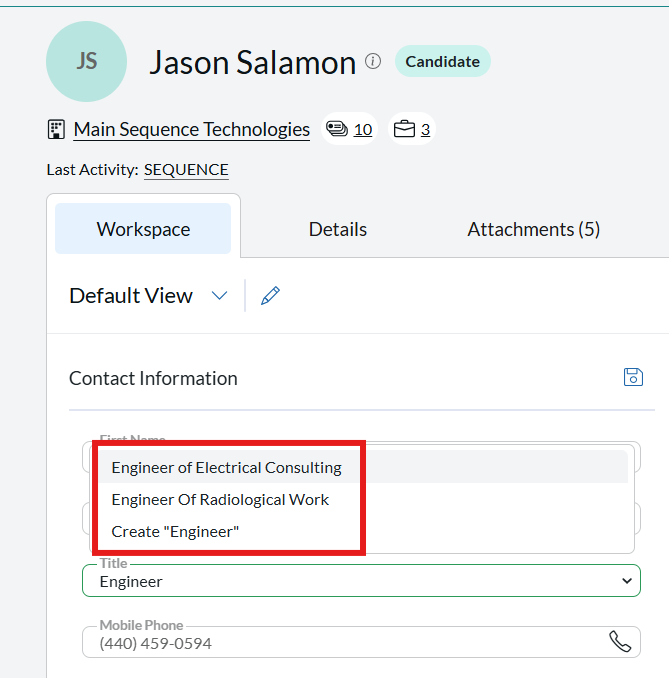
Titles can also be created on the fly from the name record details tab. When selecting the title if the title does not exist you have the option to create this title from inside the name record. (Note that adding it this way will not place it on the list of predefined titles in database setup).
Adding Predefined Titles #
Creating a predefined list to pick from creates consistency throughout the database, thereby increasing accuracy for future internal database searching.
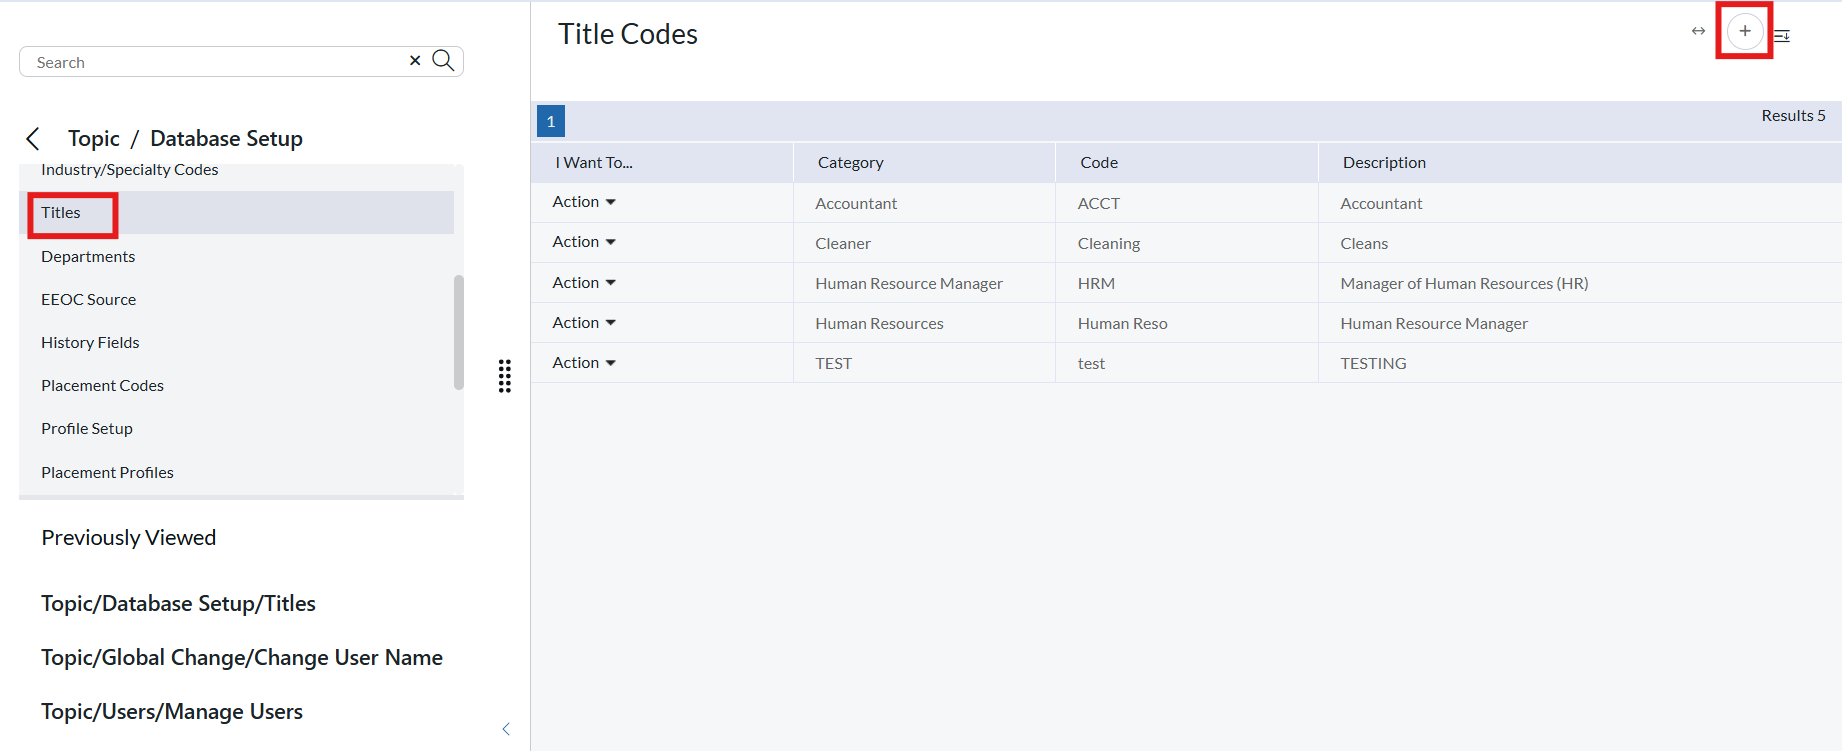
- Click the Settings icon on the Main menu.
- Click Database Setup.
- Click Titles.
- Click Add in the Action menu
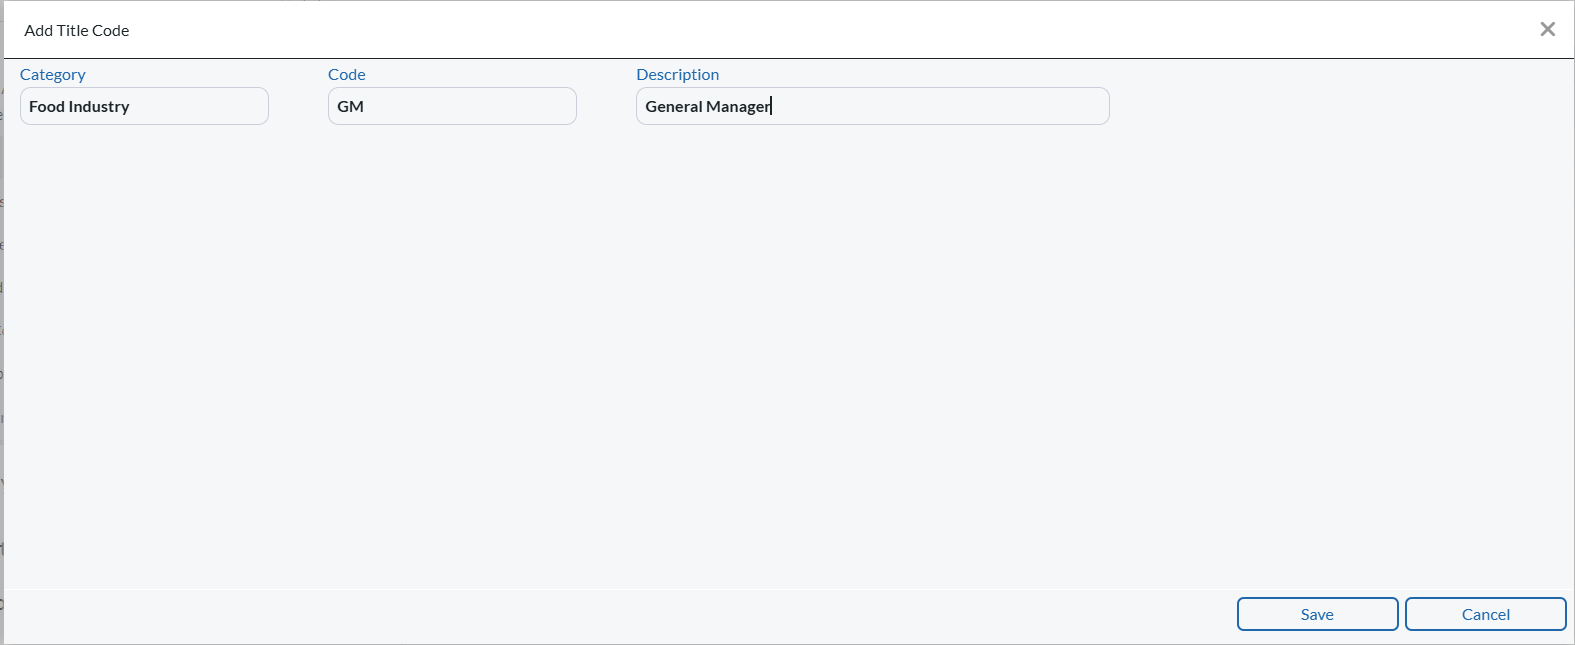
- Enter a desired Title:
- Category (Optional) — Subdividing Titles into Categories can make locating specific titles quicker when applying them.
- Code (Optional) — Titles can be sorted by Code when selecting them.
- Description — The Title itself (Max 50 Characters)
- Click Save.
Import a List of Titles #

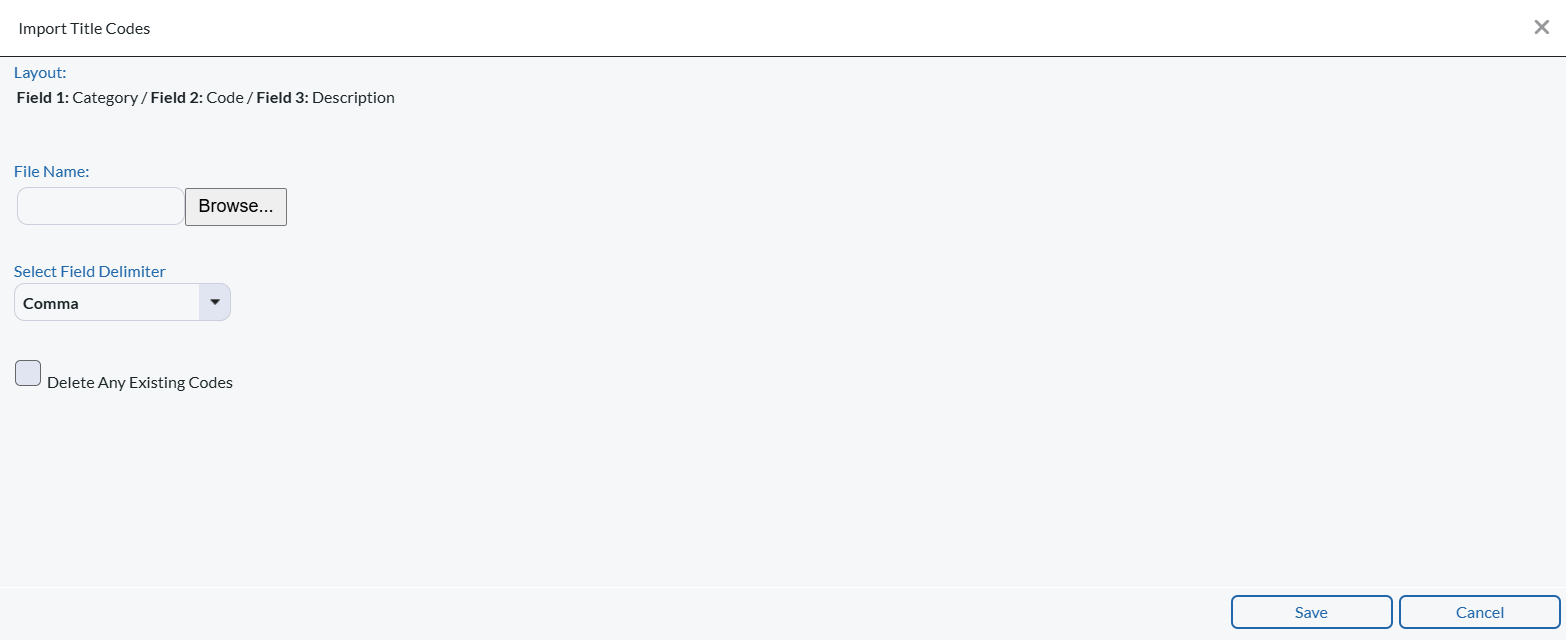
- Prepare a three-column CSV file with the following three columns. Do not include a ‘header’ row. If you do not wish to use a Category or Code, you will still need to include those two blank columns, putting all titles into the third column.
- Category (Optional) — Subdividing Titles into Categories can make locating specific titles quicker when applying them.
- Code (Optional) — Titles can be sorted by Code when selecting them.
- Description — The Title itself (Max 50 Characters)
- Click the System icon on the Main menu.
- Click Database Setup.
- Click Titles.
- Click Import in the Action menu
- Click Browse and locate your file
- If your file is separated by tabs, pipes, or semi-colons rather than the more typical Comma (as may be needed if the titles contain commas), change the Field Delimiter accordingly.
- If you wish to replace all existing Titles, check the Delete Any Existing Codes box.
- Click Save to import. After importing, you may need to exit and re-enter the screen to see the changes.
