Notes are keyword-searchable, plain-text entries used to add information to Names, Companies, and Positions. Notes are commonly additional pieces of long-form supplementary detail about a contact or role beyond what might be in the resume or other documents.
Although Notes are automatically stamped with the Date and Username upon entry, they are not intended for use as an event log (see Activities). Unlike Activities, they cannot be searched by date or user nor used in reports or analytics.
Notes can be found in two areas of any open record. You can find the Notes Tab in the navigation menu along the top of the record. You may also add a Notes Widget to your Workspace for interacting with Notes in a smaller, quicker fashion.
Adding Notes #
From the Notes Tab #
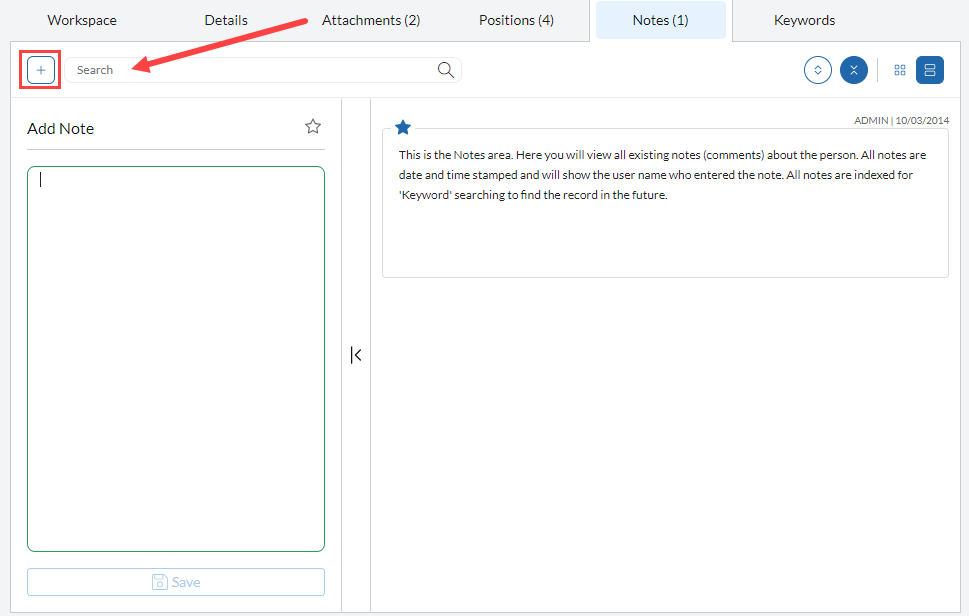
Once you have opened the Notes Tab, the Add Note panel is found at the left side. The panel is collapsed by default, but can be made visible by clicking on the arrow at the center of the vertical bar, or by clicking the Add New Note (+) at the top left corner of the Notes panel.
Enter your desired text into the Add Note area and click Save.
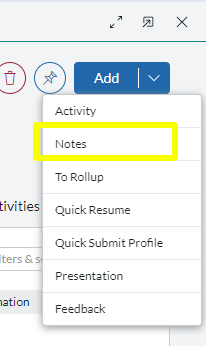
From the Add Menu #
The Add Menu found at the top right corner of the record contains a Notes option in the dropdown menu. This will allow you to add a new Note to the record regardless of whether the Notes area is visible at the time.
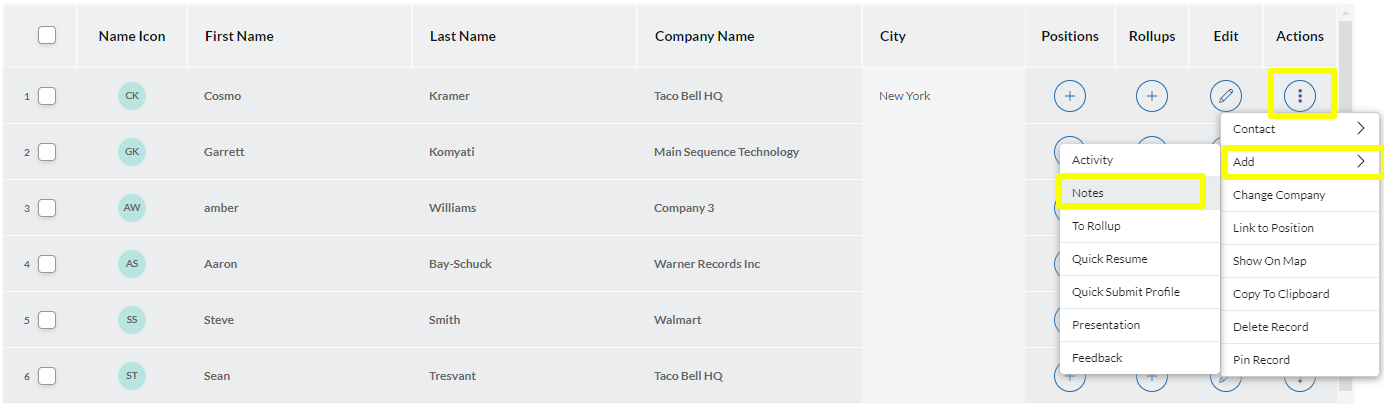
From a Grid #
You can add a new Note from the Actions Menu for records displayed in a Search Result or Rollup list. You will find Notes under the Add submenu.
Working with Notes #
Viewing #
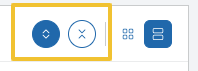
There are two display options for viewing existing notes. You can switch between them by using the two icons at the top right corner of the Notes Tab.
- List View displays each note in a horizontal box spanning the width of the Notes area.
- Grid View displays each note in a compact box, side by side, to maximize screen space.
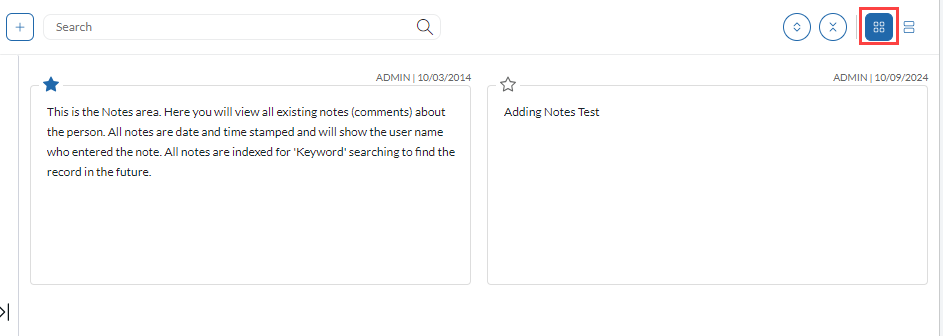
In both View modes, each Note will be displayed with the username and date of entry at the upper right corner.
When the text of a Note is too long to be viewed in the given box, a tab appears at the bottom edge of the note allowing you to expand or collapse that note. You will also find Expand All and Collapse All buttons at the upper right.
Your choice of View mode and Expand/Collapse All options will be remembered by your browser and will be retained between record viewings until you change it.
Editing & Deleting #
To edit the text of an existing Note:
- Locate the Note you’d like to edit.
- Click on that Note’s box to activate it for editing.
- Once you are finished making your changes, click anywhere outside of that note to save the change. Notes which have been altered will show an (Edited) tag.

To copy the text of an existing Note:
- Locate the Note you’d like to copy.
- Right-click on the Note.
- Choose Copy Note to Clipboard
To delete a note:
- Locate the Note you’d like to delete.
- Right-click on the Note.
- Choose Delete Note.
Prioritizing Notes #
Notes can be starred so that they remain at the top of the Notes viewing area, regardless of whether you are in Grid or List view.
To prioritize a note, toggle the Star icon at the upper left corner of the Note. If multiple Notes are starred on a record, they will be displayed in chronological order.

Searching Notes #
When viewing Notes on any Record, you can filter that particular Record’s Notes via the search box at the top of the Notes section.
Enter a term or phrase. This will hide Notes that do not contain the term you are looking for, while also highlighting the terms where found.
If you wish to find records containing specific words in their Notes, use the Filters on the Record Search Screen to look for values in Notes.