Adding an Image to a Record #
A photo or logo can be uploaded to Name, Company, and Position records. These appear as icons in the Grid View and Pipeline layouts, and are displayed in the top left side of the record screens. Logos uploaded to Position or Company records can also be made visible in the PCR Job Board.
Our PCR Capture extension has the ability to automatically add the Profile picture from the source site a record is captured from, if one is available, but you can also manually upload a photo directly from within PCR.
- Open the desired record.

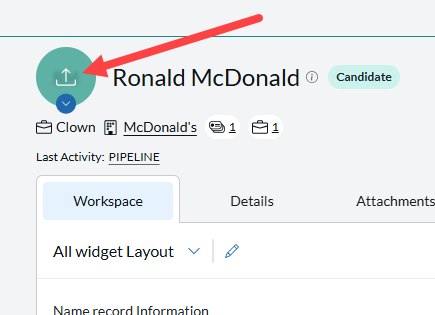
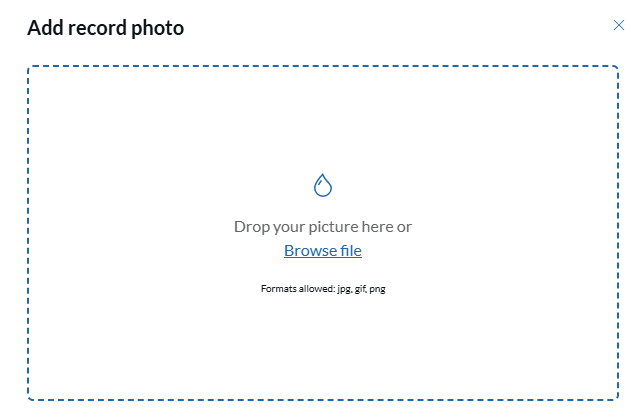
- Click on the record logo icon (circle button) at the top left of record. Select “Upload a Logo / Photograph” to browse your files or drag and drop the file into the popup window.

- Click Select File to browse for an image file on your computer, the file will be automatically uploaded once opened.

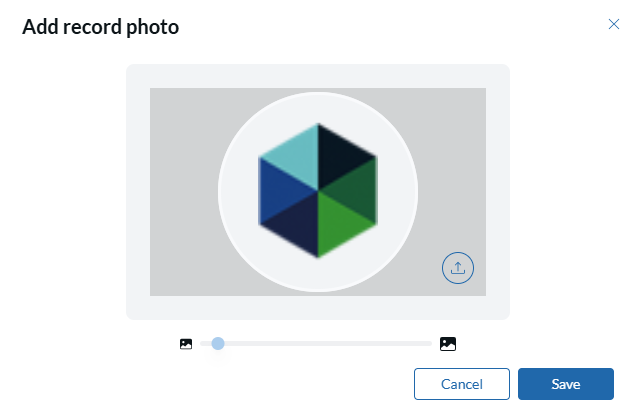
- Resize the photo as needed and click save.
- Click Close
Add a Logo to Candidate Presentations #
Images can also be added to your Candidate Presentations templates.
- Click the System icon on the Main Toolbar
- Click Presentations
- Click Candidate Presentation Templates
- Select the desired template from the Select/Create Templates dropdown menu, or click here to learn how to create new Candidate Presentation Templates.
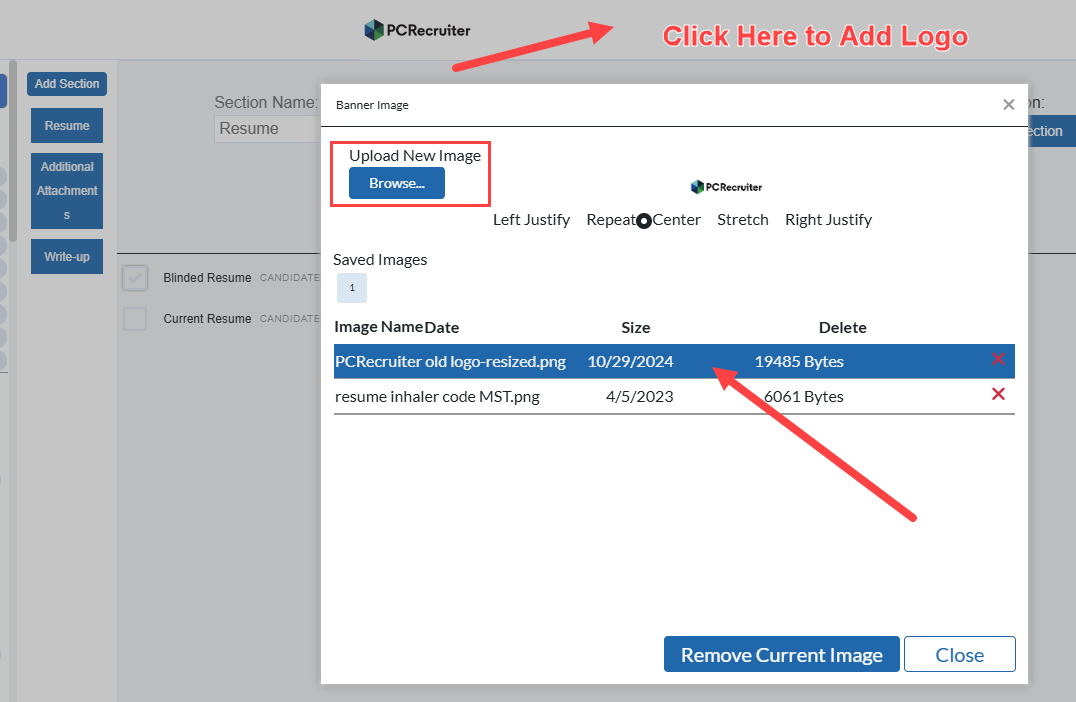
- Click within the blank space at the top of the template window for the option to add a Banner Image
- Click Browse to select an image from your computer
- Multiple images can be uploaded to your templates.
- Once an image has been uploaded, it will be listed as an option towards the bottom of the window.
- Click on an image file to set the display settings in the Presentation.
- To remove an image, click on the image file and then Remove Current Image.
- Click Close.

Server Image Store #
PCRecruiter provides a storage option for image files to use in email templates, reports, and profiles if needed. If you have access to a web hosting platform that can store images for public use, you may also keep images there for use in the same way.
How to add an Image to the Server Image Store #
- Click the Settings icon on the Main Toolbar
- Click Database Maintenance (or use the Search at the top of the menu area on the left).
- Click Server Image Store
- Click Add
- Browse for an image file (PNG, JPG, GIF) on your computer
- Click Upload
Once the image has been uploaded, you will see a Normal (http) and Secure (https) URL for it — using the Secure link is preferred in most cases. You can copy the URL of the image for use elsewhere in the system.
